
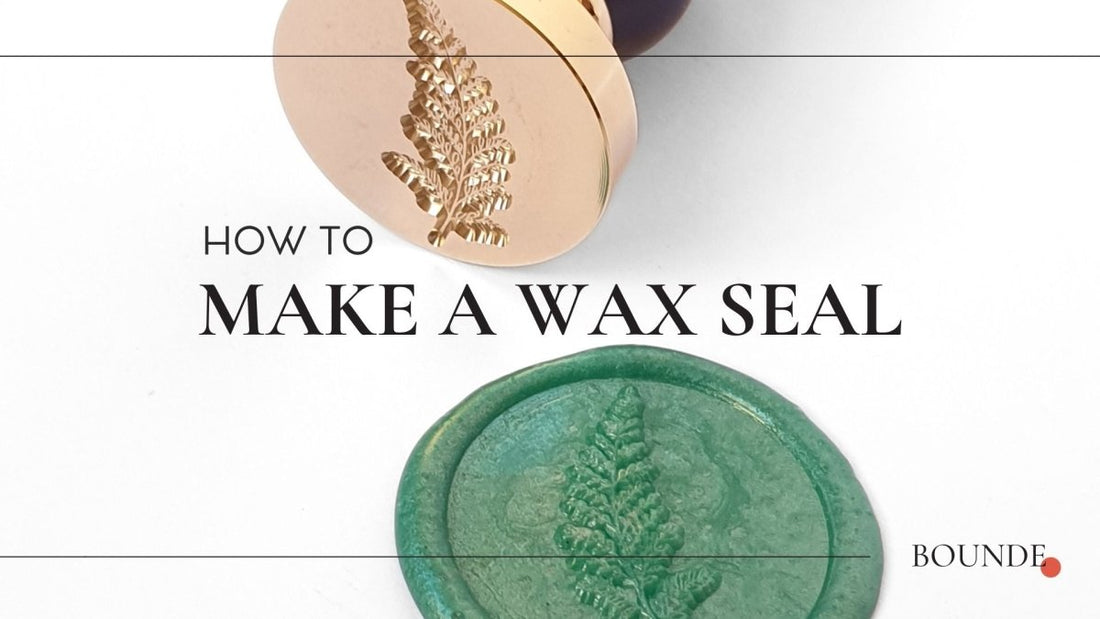
Intrigued by the nostalgic art of wax sealing? Not sure where to start? Feeling overwhelmed?
In this step-by-step guide, we will walk you through the process of creating your own wax seals, ensuring stunning results every time. We have included a video tutorial to walk you through the whole process and demonstrate just how easy it is to achieve beautiful, timeless wax seals.
Get ready to impress the recipients of your wedding invitations or gifts with this timeless and sophisticated embellishment.

Supplies:
Before we dive into the steps, let's gather all the necessary materials:
- Wax sealing beads in your desired colour
- Wax Sealing spoon
- Heat source (such as a tealight candle and wax melting stove)
- Wax Seal stamp with your chosen design
- Envelope, paper or wax seal mat
- Optional: double sided tape or glue
Step 1: Prepare Your Workstation
Find a clean and flat surface to work on. Make sure you have enough space to comfortably manoeuvre your materials.
You are working with heat, so invest in one or two heat-proof silicone wax seal mats to protect your work surface.
Ensure you have all the supplies you need at hand, before you begin.

Step 2: Melt the Sealing Wax
Place your candle and wax melting stove on a heatproof surface, away from drafts. Ensure any flammable materials are well clear.
Light your tealight candle and set up your wax melting stove and spoon.
Place the sealing wax spoon on your wax melting stove and drop 3-4 sealing wax beads into the spoon.
Allow the sealing wax to melt fully, until it reaches a runny honey consistency.
TIP 1: Be careful not to overheat the wax, as it will begin to bubble or smoke.
TIP 2: After you pour your first wax seal you will have some residual wax left in your spoon. This means you may only need to add 3 wax beads for the subsequent wax seals.
SAFETY NOTE: Never leave wax unattended whilst over the heat. Do not use sealing wax stove and spoon for move than 1 hour continuously, to avoid overheating. Be cautious when working with hot wax, avoid all contact with skin and clothing. Be sure not to touch the metal surface of the wax melting spoon and stove, and avoid handling the stove until the flame is extinguished and it has cooled.

Step 3: Choose your Wax Seal Stamp
Choose a good quality wax seal stamp, with a striking design and a crisp clear impression.
Take the time to consider which sealing wax colour will best compliment your wax stamp design and your project.
Have you wax seal stamp close on hand, as you will need to move quickly once you pour the sealing wax.
Ensure you know the orientation of the design and know which way is up before you stamp the wax.
Step 4: Pour the Wax
Once the wax has melted, carefully pour it onto the desired spot on your envelope, paper or wax seal mat.
For round seals, simply allow the wax to run directly off the spoon. You will not need to move the spoon around, simply aim for the one spot, and as the wax falls from the spoon it will form a circle (providing the surface is flat).
Aim for a pool of wax that is slightly smaller than the size of your wax seal stamp. It will spread out as you apply the wax stamp.

Step 5: Stamp the Wax Seal Stamp
You will need to work quickly. Position yourself with an overhead view of the wax, and centre the stamp over the wax pool.
You can make small, micro-adjustments to the stamp position as you lower it into the wax (before compressing completely), allowing you to centre the stamp within the sealing wax, creating an even overflow of wax around the seal forming a lip.
Do not press down too hard, light pressure and the weight of the stamp itself is usually sufficient to make a clear impression.
Allow the wax to set and harden before removing the seal stamp. This could take 1.5 - 2 minutes depending on your climate and the surface you are working on.

Step 6: Remove the Wax Stamp
Time for the reveal! This is the exciting part.
Once the wax has set, the stamp should come away cleanly with just light pressure. Do not twist the stamp, in case the wax underneath in not completely hard. Simply lift the stamp away.

Step 7: How to Use Your Wax Seals
Wax seals make a beautiful addition to gift wrap, letters, cards, scrapbooks, journals, and wedding invitations. You can create a luxury wedding stationery suite by adding matching wax seals to menus, place cards, wedding favours and seating plans.
If you have poured your wax directly onto an envelope or papercraft project, it will naturally adhere to the surface.
If you have used a wax sealing mat to create your wax seals, you can attach them to your craft project with heavy duty double sided tape, or a spot of freshly melted wax.

Tips for Best Results:
- Choose high-quality sealing wax and wax seal stamps, for a clean and crisp impression.
- Experiment with different colours and designs to match the theme or occasion.
- Get creative, try using dried flowers or gold foil as embellishments in your wax seals.
- Use metallic permanent markers to highlight the details of your finished wax seal.
- Try marbling your wax seals, by using two or more sealing wax colours together.
- For perfectly round wax seals, watch our video tutorial and read the blog post here!
- Practice on scrap paper or a wax seal mat before applying the wax seal to your final piece.
- Apply minimal pressure when lowering the wax seal stamp to ensure a clear and defined impression.
- Allow the wax to cool for fully before removing the stamp for a neater finish.
So let's recap:
Follow these simple steps to make your own wax seals:
- Prepare your Workstation: Use a clear, flat, heatproof surface and have your supplies at hand.
- Melt your Sealing Wax: Use a wax melting stove and spoon and 3-4 sealing wax beads.
- Pour the Wax: For round wax seals, allow the wax to pour directly off the spoon toward a single point. Do not move the spoon around.
- Stamp the Wax Seal Stamp: Make sure your design is the right wax up. Have an overhead view, centre the wax stamp over the wax. Apply gentle pressure.
- Remove the Wax Stamp: Allow the wax to cool for 1.5 - 2 minutes. Once wax is fully set, the wax stamp should easily come away.
- How to Use your Wax Seals: Embellish letters, gift wrap, cards, scrapbooks, journals, wedding invitations and more!

Now that you have mastered the art of DIY wax seals, let your creativity shine! Whether you are sending out wedding invitations or adding a personal touch to your correspondence, wax seals are sure to leave a lasting impression. Enjoy the process and revel in the beauty of your one-of-a-kind handcrafted creations.
Should you have any questions about how to make wax seals, make sure to leave a comment below and we will respond to you.
Happy wax sealing friends!